Building your own mechanical keyboard is a fun and rewarding DIY project that allows you to fully customize and personalize your typing experience. While it may seem daunting at first, building a mechanical keyboard is actually quite straightforward if you follow the right steps. In this guide, we’ll break down the steps you need to follow to build your own mechanical keyboard.
Step 1: Choose your components Before you start building your mechanical keyboard, you’ll need to choose the components you want to use. This includes switches, keycaps, PCB, stabilizers, plate, case, and cables. You can mix and match different components to create the keyboard that best suits your needs and preferences.
Step 2: Assemble your PCB Once you have your components, you’ll need to assemble your PCB. This involves soldering the switches onto the PCB, attaching the stabilizers to the larger keys, and connecting any LEDs or other electronics. Be sure to follow the manufacturer’s instructions carefully and take your time to avoid any mistakes.
Step 3: Mount your plate Next, you’ll need to mount your plate onto the PCB. This involves screwing the plate onto the PCB and aligning the switches with the holes in the plate. The plate helps to keep the switches stable and provides structural support for the keyboard.
Step 4: Install your stabilizers After mounting the plate, you’ll need to install your stabilizers. This involves attaching the stabilizer housing to the PCB and inserting the stabilizer wires into the larger keycaps. Be sure to test the stabilizers to make sure they are working properly and adjust them if necessary.
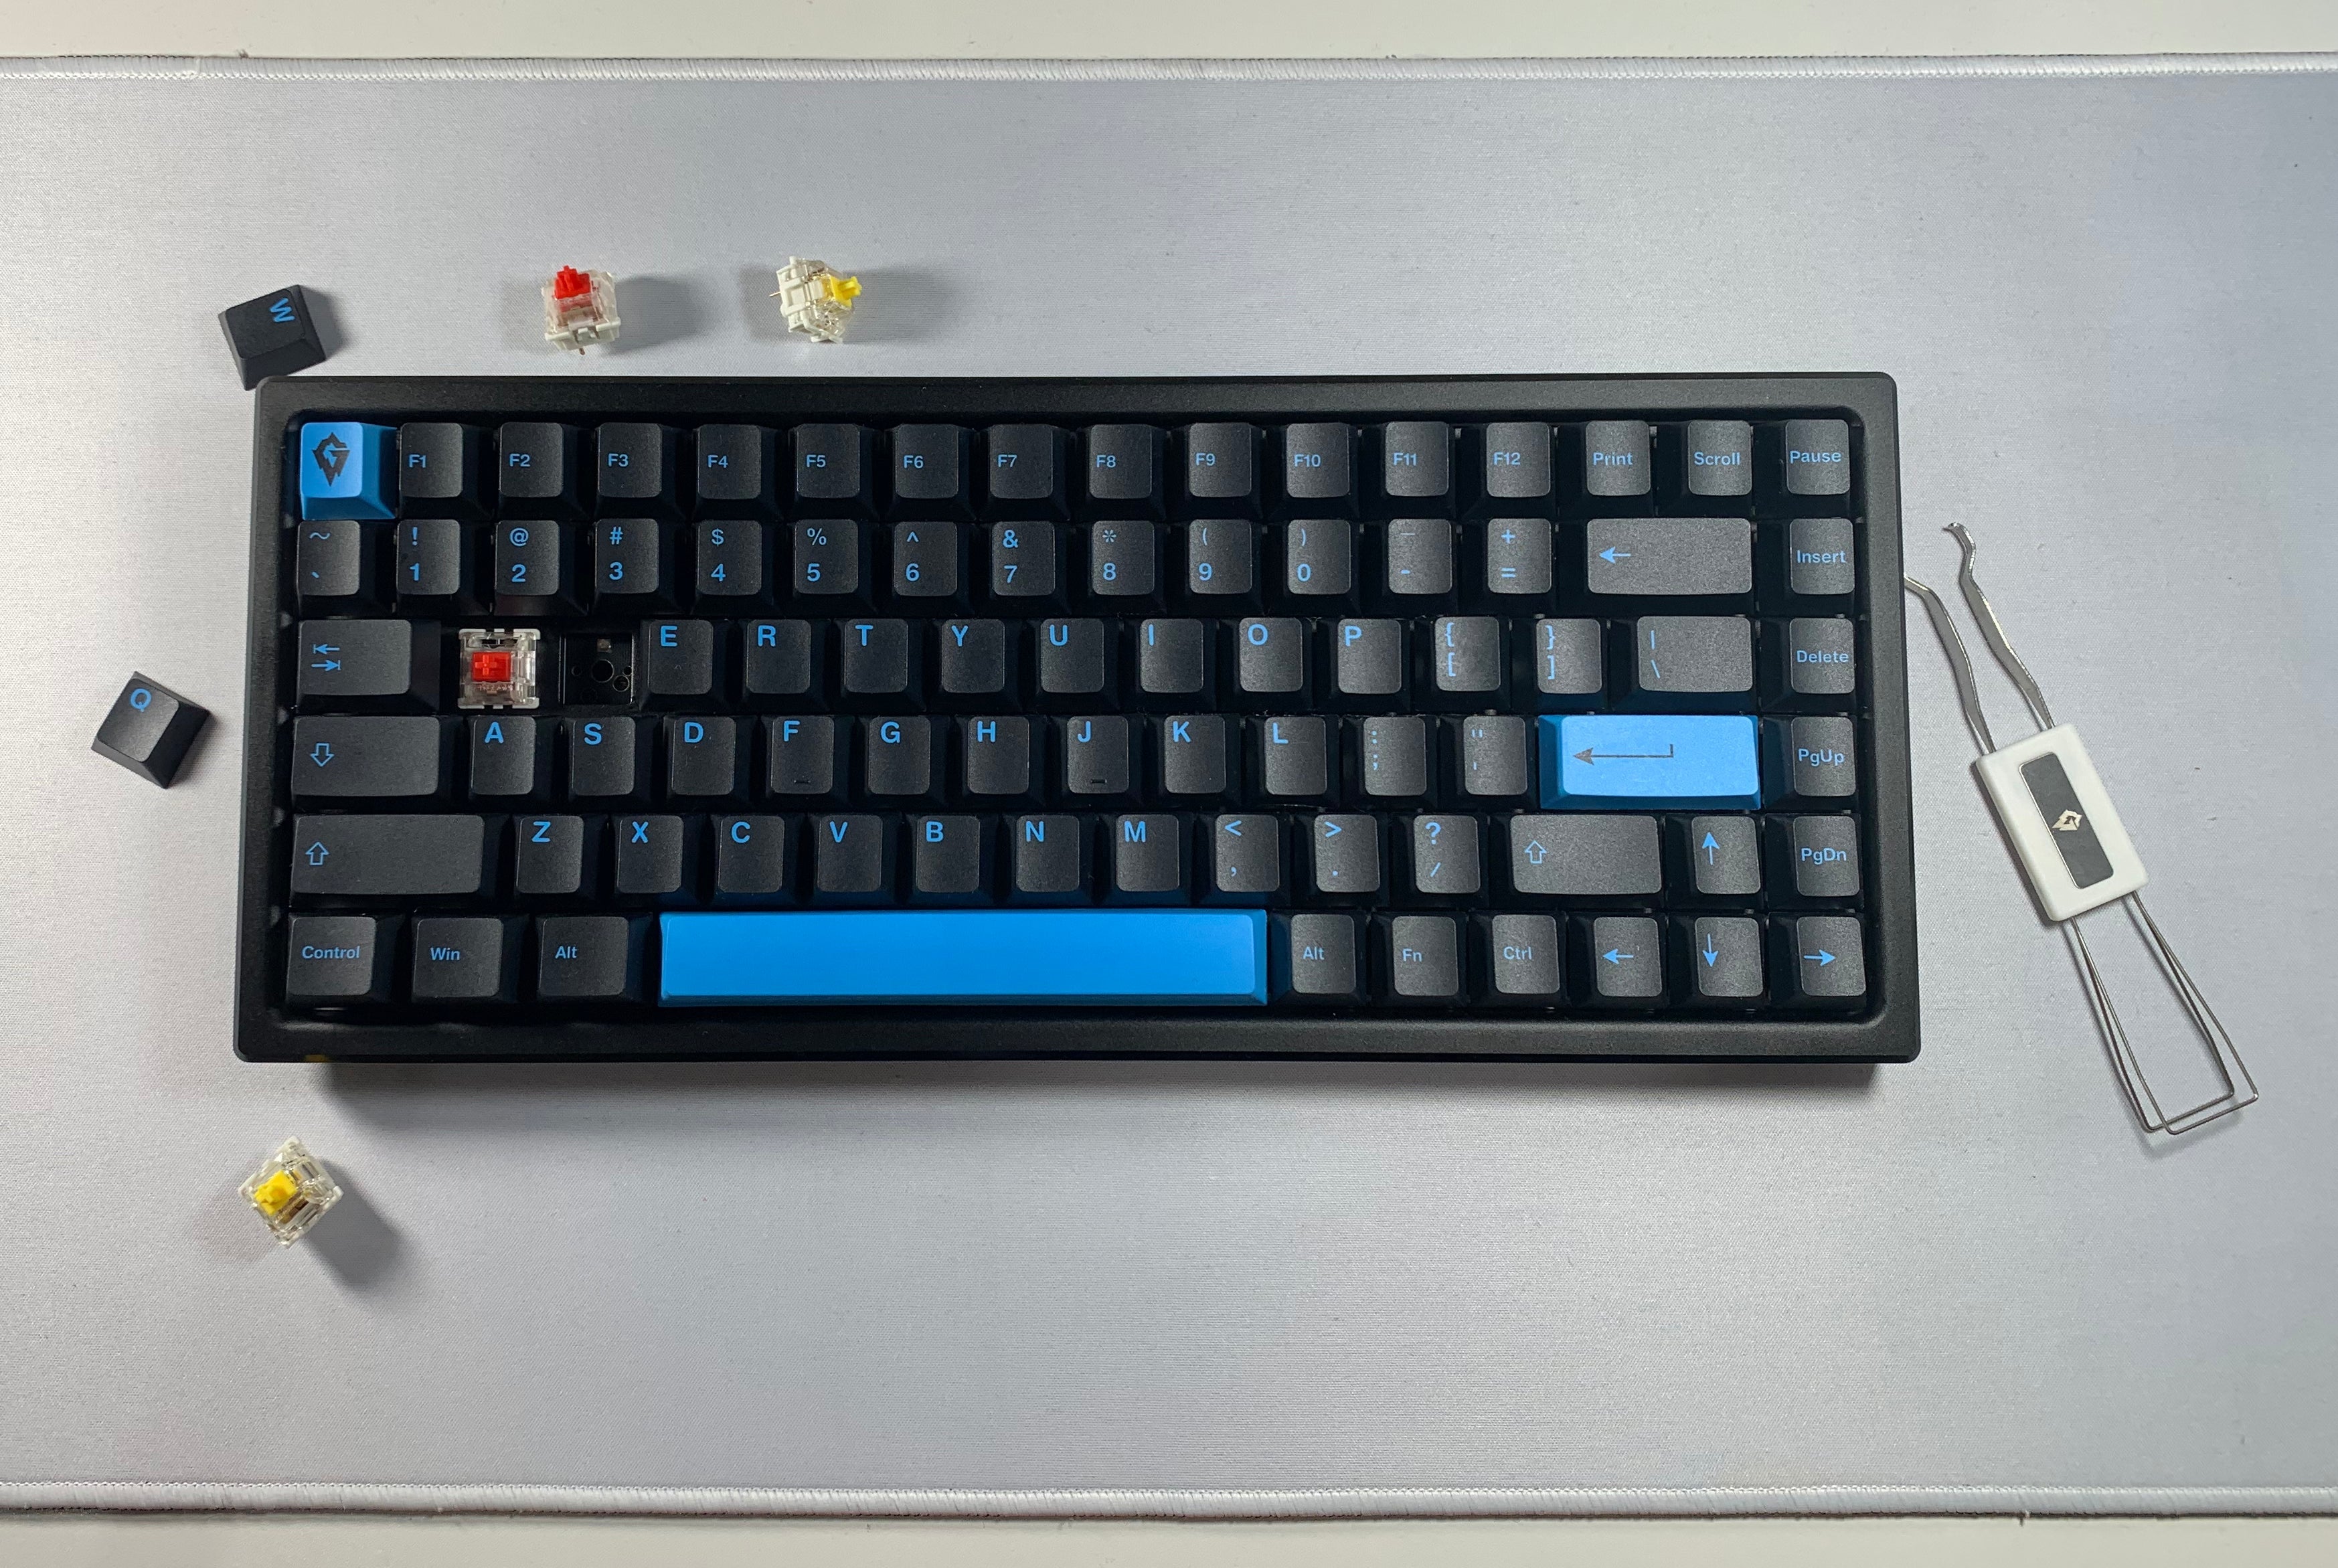
Step 5: Install your switches With the plate and stabilizers in place, you can now install your switches. This involves inserting the switches into the plate and PCB and securing them in place. Be sure to test each switch to make sure they are working properly and adjust them if necessary.
Step 6: Install your keycaps Once your switches are in place, you can install your keycaps. This involves pressing each keycap onto the stem of the switch and making sure it is seated properly. Some keycaps may require additional tools or techniques to install, so be sure to follow the manufacturer’s instructions.
Step 7: Install your case and cables Finally, you can install your case and cables. This involves screwing the PCB and plate into the case, and attaching the cables to the USB port on the PCB. Be sure to test the keyboard to make sure it is working properly and adjust any settings or programming as desired.
Building your own mechanical keyboard is a fun and rewarding DIY project that allows you to fully customize and personalize your typing experience. By following these steps and taking your time, you can build a mechanical keyboard that is both functional and beautiful.