Blogs/Updates

How to Tune Keyboard Stabilizers: A Complete Guide to Eliminating Rattle and Improving Sound
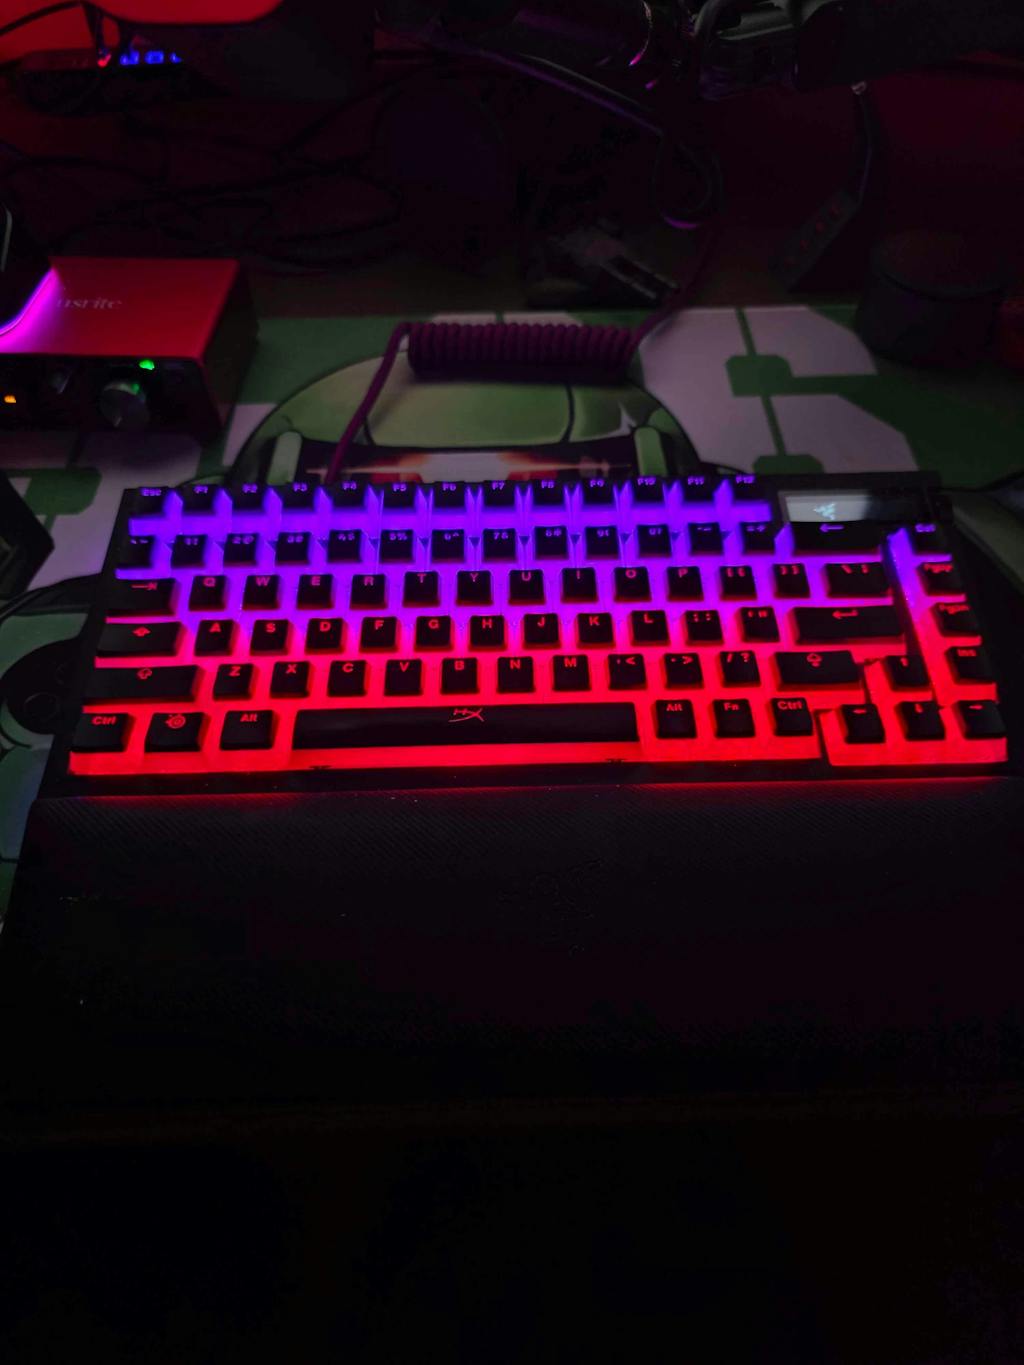
Properly tuned stabilizers are one of the biggest factors in achieving a smooth, premium typing experience on a mechanical keyboard. Even the best mechanical switches can't compensate for rattling, ticking, or mushy stabilizers on larger keys like the spacebar, Enter, Backspace, and Shift. Fortunately, learning how to tune keyboard stabilizers is a straightforward process that can dramatically improve both the sound and feel of your keyboard. In this guide, you'll learn what keyboard stabilizers are, why they rattle, the tools you'll need, and the best methods for tuning screw-in, clip-in, and plate-mounted stabilizers. Whether you're building your first custom mechanical keyboard or upgrading a prebuilt hot-swappable keyboard, these techniques can help you achieve cleaner acoustics and smoother keystrokes. What Are Keyboard Stabilizers? Keyboard stabilizers (often called "stabs") are mechanical components installed underneath larger keys that require support across multiple switch positions. Without stabilizers, wide keys would wobble excessively and could bind when pressed off-center. Stabilizers are commonly used on: Spacebar Enter Backspace Left Shift Right Shift Numpad 0, Enter, and Plus (on full-size keyboards) The purpose of a stabilizer is to keep these larger keys level while maintaining smooth and consistent key travel. Types of Keyboard Stabilizers Most mechanical keyboards use one of three stabilizer mounting styles: Screw-In Stabilizers Screw-in stabilizers attach directly to the PCB using small screws. They are widely considered the most secure and premium option because they reduce movement and provide excellent stability. Clip-In Stabilizers Clip-in stabilizers snap into the PCB without screws. They are easier to install but can have slightly more movement if not properly tuned. Plate-Mounted Stabilizers Plate-mounted stabilizers attach to the keyboard plate rather than the PCB. These are common in many prebuilt mechanical keyboards and are generally easier to remove without disassembling the entire keyboard. Why Do Stabilizers Rattle? Rattle occurs when there is excess movement between the stabilizer housing, stem, and metal wire. During a keypress, the wire can vibrate against the plastic housing, creating unwanted ticking or rattling noises. Common causes include: Dry stabilizer wires Poor factory lubrication Loose stabilizer housings Wire movement inside the stem Uneven stabilizer wire balancing Proper tuning reduces these unwanted vibrations while maintaining smooth key travel. Tools You'll Need Keycap puller Switch puller (for hot-swappable keyboards) Small brush for lubricant Switch lubricant (such as Krytox 205g0 or dielectric grease for stabilizer wires) Tweezers Paper towel or microfiber cloth Different enthusiasts have different lubrication preferences. Thick lubricants are commonly used on stabilizer wires to reduce wire noise, while thinner lubricants may be preferred for stems depending on the desired feel. Step 1: Remove the Keycaps Begin by carefully removing the larger keycaps using a keycap puller. If your keyboard uses plate-mounted stabilizers, this may be all you need to access them. For PCB-mounted stabilizers, additional disassembly may be required. Step 2: Remove the Stabilizers Remove the stabilizers according to their mounting style: Unscrew screw-in stabilizers Release clip-in tabs Unclip plate-mounted stabilizers from the plate Keep all components organized during disassembly. Step 3: Clean the Stabilizers Before applying new lubricant, remove any factory grease, dust, or debris. Clean: Stabilizer housing Stem Metal wire Starting with clean components helps achieve more consistent lubrication. Step 4: Lubricate the Stabilizer Housings and Stems Apply a thin, even layer of lubricant to the contact surfaces where the stem slides inside the housing. Avoid applying excessive lubricant, as over-lubing can create a sluggish or mushy feel and attract dust over time. Step 5: Lubricate the Stabilizer Wire The stabilizer wire is the primary source of rattling. Apply lubricant only to the portions of the wire that contact the stabilizer stem. Proper wire lubrication helps: Reduce ticking Eliminate rattling Create a smoother bottom-out sound Improve typing acoustics Avoid coating the entire wire unnecessarily, as only the contact points require lubrication. Step 6: Check Wire Balance Before reinstalling, inspect the stabilizer wire to ensure it is straight. A bent wire can cause uneven key travel or one side of the key to feel softer than the other. If necessary, carefully straighten the wire using gentle pressure. Overbending can permanently damage it. Step 7: Reassemble and Test Reinstall the stabilizers, switches, and keycaps. Test each stabilized key by pressing: Center Left side Right side Listen for: Rattle Ticking Uneven movement Binding If needed, remove the stabilizer and make small adjustments rather than applying excessive lubricant. Popular Stabilizer Mods Experienced keyboard enthusiasts often combine lubrication with additional modifications. Holee Mod The Holee Mod places a thin strip of fabric or medical tape inside the stabilizer stem where the wire inserts. This can reduce wire ticking, although it may require maintenance over time as the material wears. Dielectric Grease on the Wire Some builders apply a small amount of dielectric grease to the wire contact points to reduce ticking. Care should be taken not to overapply, as too much grease can affect key feel. Stabilizer Pads Small adhesive pads placed beneath PCB-mounted stabilizers can reduce the impact noise when the stabilizer housing contacts the PCB. Products commonly known as stabilizer pads or foam pads serve this purpose. Should You Tune Factory Stabilizers? Many modern keyboards ship with factory-lubricated stabilizers, especially enthusiast-focused models. However, factory lubrication quality varies by manufacturer. If you notice: Spacebar rattle Ticking sounds Mushy stabilized keys Uneven key feel Retuning the stabilizers can often produce a noticeable improvement. Common Mistakes to Avoid Applying too much lubricant Forgetting to clean old lubricant Bending the stabilizer wire excessively Mixing stabilizer components from different brands without checking compatibility Ignoring wire balance during reassembly Do Better Stabilizers Make a Difference? Yes. Higher-quality stabilizers often feature tighter manufacturing tolerances, smoother housings, and better wire fitment. While proper tuning is still important, premium stabilizers generally require less work to achieve excellent results. Final Thoughts Learning how to tune keyboard stabilizers is one of the most effective upgrades you can make to any mechanical keyboard. Proper lubrication, wire balancing, and careful assembly can eliminate rattling, reduce ticking, and create a smoother, more satisfying typing experience. Whether you're building a custom mechanical keyboard, upgrading a hot-swappable keyboard, or improving a prebuilt gaming keyboard, well-tuned stabilizers can dramatically enhance acoustics, key feel, and overall typing quality. Combined with quality mechanical switches, keycaps, and proper keyboard modifications, tuned stabilizers help transform an ordinary keyboard into one that feels and sounds truly premium.
Read more