Blogs/Updates

Keyboard Ping Explained: What Causes Mechanical Keyboard Ping and How to Fix It
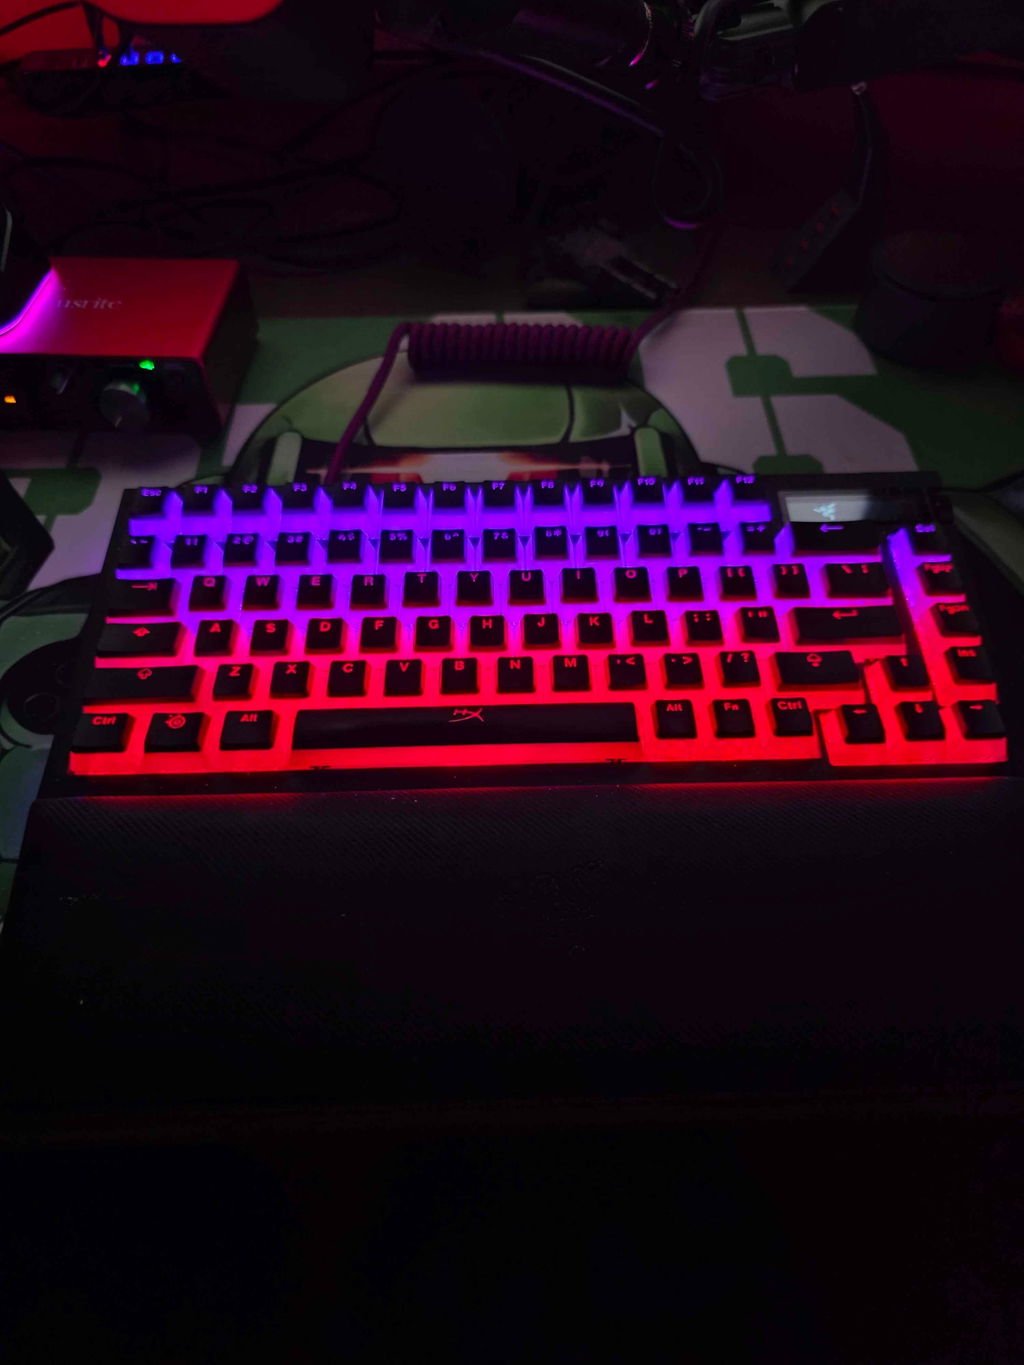
Mechanical keyboards are known for their satisfying typing feel, customizable designs, and unique sound profiles. However, one common issue that many keyboard enthusiasts notice is keyboard ping. This metallic ringing or echoing sound can appear when typing on certain mechanical keyboards, especially those with aluminum cases, metal plates, or larger keys. While some users enjoy a sharper acoustic profile, others find keyboard ping distracting and want a deeper, cleaner, and more premium typing sound. Understanding what causes keyboard ping and how to reduce it can help you choose the right keyboard components and improve your overall typing experience. What Is Keyboard Ping? Keyboard ping is a metallic resonance sound that occurs when pressing mechanical keyboard keys. It is usually described as a high-pitched ringing, spring-like echo, or a small metal vibration that continues briefly after a key is pressed. Keyboard ping is most noticeable when typing quickly or pressing keys with stronger force. It is commonly heard on keyboards with metal components, such as aluminum keyboard cases, steel plates, aluminum plates, and metal stabilizers. The sound usually comes from vibrations traveling through the keyboard structure. When a key is pressed, energy transfers from the switch into the plate, PCB, case, and other components. If those parts resonate at certain frequencies, they can create the metallic sound known as keyboard ping. What Causes Keyboard Ping? Several different keyboard components can contribute to ping. In most cases, keyboard ping is not caused by a single part but by the interaction between the switch, plate, case, and internal materials. 1. Mechanical Keyboard Switch Springs The most common source of keyboard ping is the spring inside mechanical keyboard switches. Every mechanical switch contains a metal spring that compresses and releases when a key is pressed. During this movement, the spring can vibrate and create a metallic ringing sound. This is especially common with some linear switches, tactile switches, and clicky switches that use stronger springs. Switch ping can vary depending on: Spring material Spring weight or actuation force Switch housing design Switch lubrication Manufacturing tolerances Factory-lubed switches often have reduced spring noise, while dry switches may produce more noticeable spring ping. 2. Metal Keyboard Plates The keyboard plate is another major factor that affects sound. Many mechanical keyboards use metal plates because they provide stability and a consistent typing feel. Common keyboard plate materials include: Aluminum plate Steel plate Brass plate Copper plate Polycarbonate plate FR4 plate Metal plates can create a brighter and sharper sound profile because metal naturally resonates. While this can make a keyboard sound crisp and lively, it can also amplify keyboard ping if vibrations are not controlled. 3. Aluminum Keyboard Cases Many premium mechanical keyboards use CNC aluminum cases because they provide durability, rigidity, and a high-quality feel. However, aluminum is also a material that can reflect and amplify certain frequencies. An aluminum keyboard case can increase resonance, especially in larger keyboard layouts such as: Full-size keyboards 96% keyboards TKL keyboards 75% keyboards Larger internal spaces allow more room for sound waves to travel, which can make keyboard ping more noticeable. 4. Large Empty Spaces Inside the Keyboard Case The internal design of a mechanical keyboard affects how sound travels. A keyboard case with a large hollow area can create stronger echoes and amplify unwanted frequencies. This is why some keyboards may sound hollow or metallic even when using the same switches and keycaps as another keyboard. 5. Loose Components Loose screws, stabilizers, plates, or internal components can create additional vibration noises. A component that is not properly secured may move slightly when typing, producing unwanted sounds. Is Keyboard Ping a Defect? Keyboard ping is not always considered a manufacturing defect. Because mechanical keyboards contain many metal parts and moving components, some amount of resonance can naturally occur. However, excessive keyboard ping can indicate: Poor internal sound dampening Unlubricated switch springs Loose hardware A highly resonant keyboard design Many custom keyboard enthusiasts consider heavy keyboard ping undesirable because it can reduce the clean and premium sound profile expected from a high-end mechanical keyboard. How to Reduce Keyboard Ping There are several ways to reduce or eliminate keyboard ping depending on your keyboard design and how much modification you are willing to do. 1. Lubricate Mechanical Switches Switch lubrication is one of the most effective methods for reducing spring ping. Applying lubricant to the switch spring helps reduce friction and vibration. Common switch lubricants include: Krytox 205g0 Krytox 105 oil Tribosys 3204 Tribosys 3203 For spring ping specifically, switch spring oiling is often more effective than only lubricating the switch stem and housing. 2. Add Keyboard Case Foam Adding foam inside the keyboard case is a popular modification among mechanical keyboard users. Keyboard foam helps absorb vibrations and reduce hollow or metallic sounds. Common keyboard foam materials include: Poron foam EVA foam PE foam IXPE foam Neoprene foam Case foam works by reducing empty space inside the keyboard and preventing sound waves from bouncing around the case. 3. Use Plate Foam Plate foam sits between the PCB and keyboard plate. It helps reduce vibrations created when switches bottom out against the plate. Plate foam can also change the overall sound profile by creating a softer, deeper, and less metallic typing sound. 4. Add PCB Foam PCB foam is installed between the PCB and the bottom case. This helps absorb vibrations traveling through the keyboard structure. Many custom mechanical keyboards use a combination of PCB foam, plate foam, and case foam to achieve a cleaner acoustic profile. 5. Use a Different Keyboard Mounting Style The mounting system of a mechanical keyboard affects how vibrations travel. Different mounting styles can produce different sound characteristics. Common keyboard mounting systems include: Tray mount Top mount Gasket mount Leaf spring mount Plateless mount Gasket mount keyboards often reduce harsh vibrations by allowing the plate to flex and absorb some impact. 6. Replace the Mechanical Switches If switch spring ping is severe, replacing the switches may be the easiest solution. Some switches are designed with better factory lubrication and improved spring quality. Popular switch options for smoother sound profiles include: Factory-lubed linear switches Silent mechanical switches Long-pole switches with controlled acoustics Premium custom mechanical keyboard switches Keyboard Ping vs Other Keyboard Sounds Keyboard ping is often confused with other mechanical keyboard sounds. Understanding the difference can help identify the source of unwanted noise. Keyboard Ping A metallic ringing or spring-like vibration caused by metal resonance or switch springs. Hollow Keyboard Sound A deeper echo caused by empty space inside the keyboard case. This can often be improved with case foam. Stabilizer Rattle A shaking or ticking sound from larger keys such as the spacebar, enter key, shift keys, and backspace. Stabilizer lubrication can usually reduce this noise. Switch Scratch A rough feeling or scratchy sound caused by friction between switch components. Do Keycaps Affect Keyboard Ping? Keycaps can slightly affect keyboard acoustics, but they are usually not the main cause of keyboard ping. Thicker keycaps, especially thick PBT keycaps, can absorb some higher-frequency sounds and create a deeper typing tone. However, if the ping comes from the switch spring or metal plate, changing keycaps alone will not completely remove it. Do Aluminum Mechanical Keyboards Have More Ping? Aluminum mechanical keyboards are more likely to reveal keyboard ping because aluminum cases are rigid and reflective. However, a well-designed aluminum keyboard with proper internal dampening can have excellent acoustics without noticeable ping. Many premium CNC aluminum keyboards use: Multiple layers of foam Gasket mounting systems Optimized internal cavities High-quality switches Sound dampening materials The material itself is not the problem. The overall keyboard design determines the final sound. How to Choose a Mechanical Keyboard With Less Ping If you want a mechanical keyboard with a cleaner sound profile, consider the following features: Factory-lubed switches Gasket mount design Internal case foam Poron or IXPE dampening layers Quality stabilizers Thick PBT keycaps Well-designed aluminum case acoustics Reading mechanical keyboard reviews and watching typing sound tests can also help identify potential ping issues before purchasing. Final Thoughts: Understanding Keyboard Ping Keyboard ping is a common acoustic issue found in many mechanical keyboards, especially models with metal components such as aluminum cases and metal plates. While some resonance is normal, excessive keyboard ping can affect the overall typing experience. The best solutions include lubricating switch springs, adding keyboard foam, improving internal dampening, and choosing components designed for better acoustics. With the right modifications, almost any mechanical keyboard can achieve a cleaner, deeper, and more enjoyable typing sound. Whether you are building a custom mechanical keyboard or choosing your first hot-swappable keyboard, understanding keyboard ping will help you create a better typing experience with the sound and feel you prefer.
Read more