

Are Switch Testers Worth It? What a Switch Tester Really Tells You
If you are working out how to choose mechanical keyboard switches without gambling on a full set, a switch tester is usually the first thing people recommend. The logic is simple: a keyboard needs anywhere from about 60 to well over 100 switches depending on layout, so guessing wrong is expensive.
But switch testers have a mixed reputation among enthusiasts, and for good reason. They answer some questions well and are genuinely misleading on others. This guide covers what a switch tester is, what it can and cannot tell you, and how to test mechanical switches properly before buying.
What Is a Switch Tester and How Does It Work?
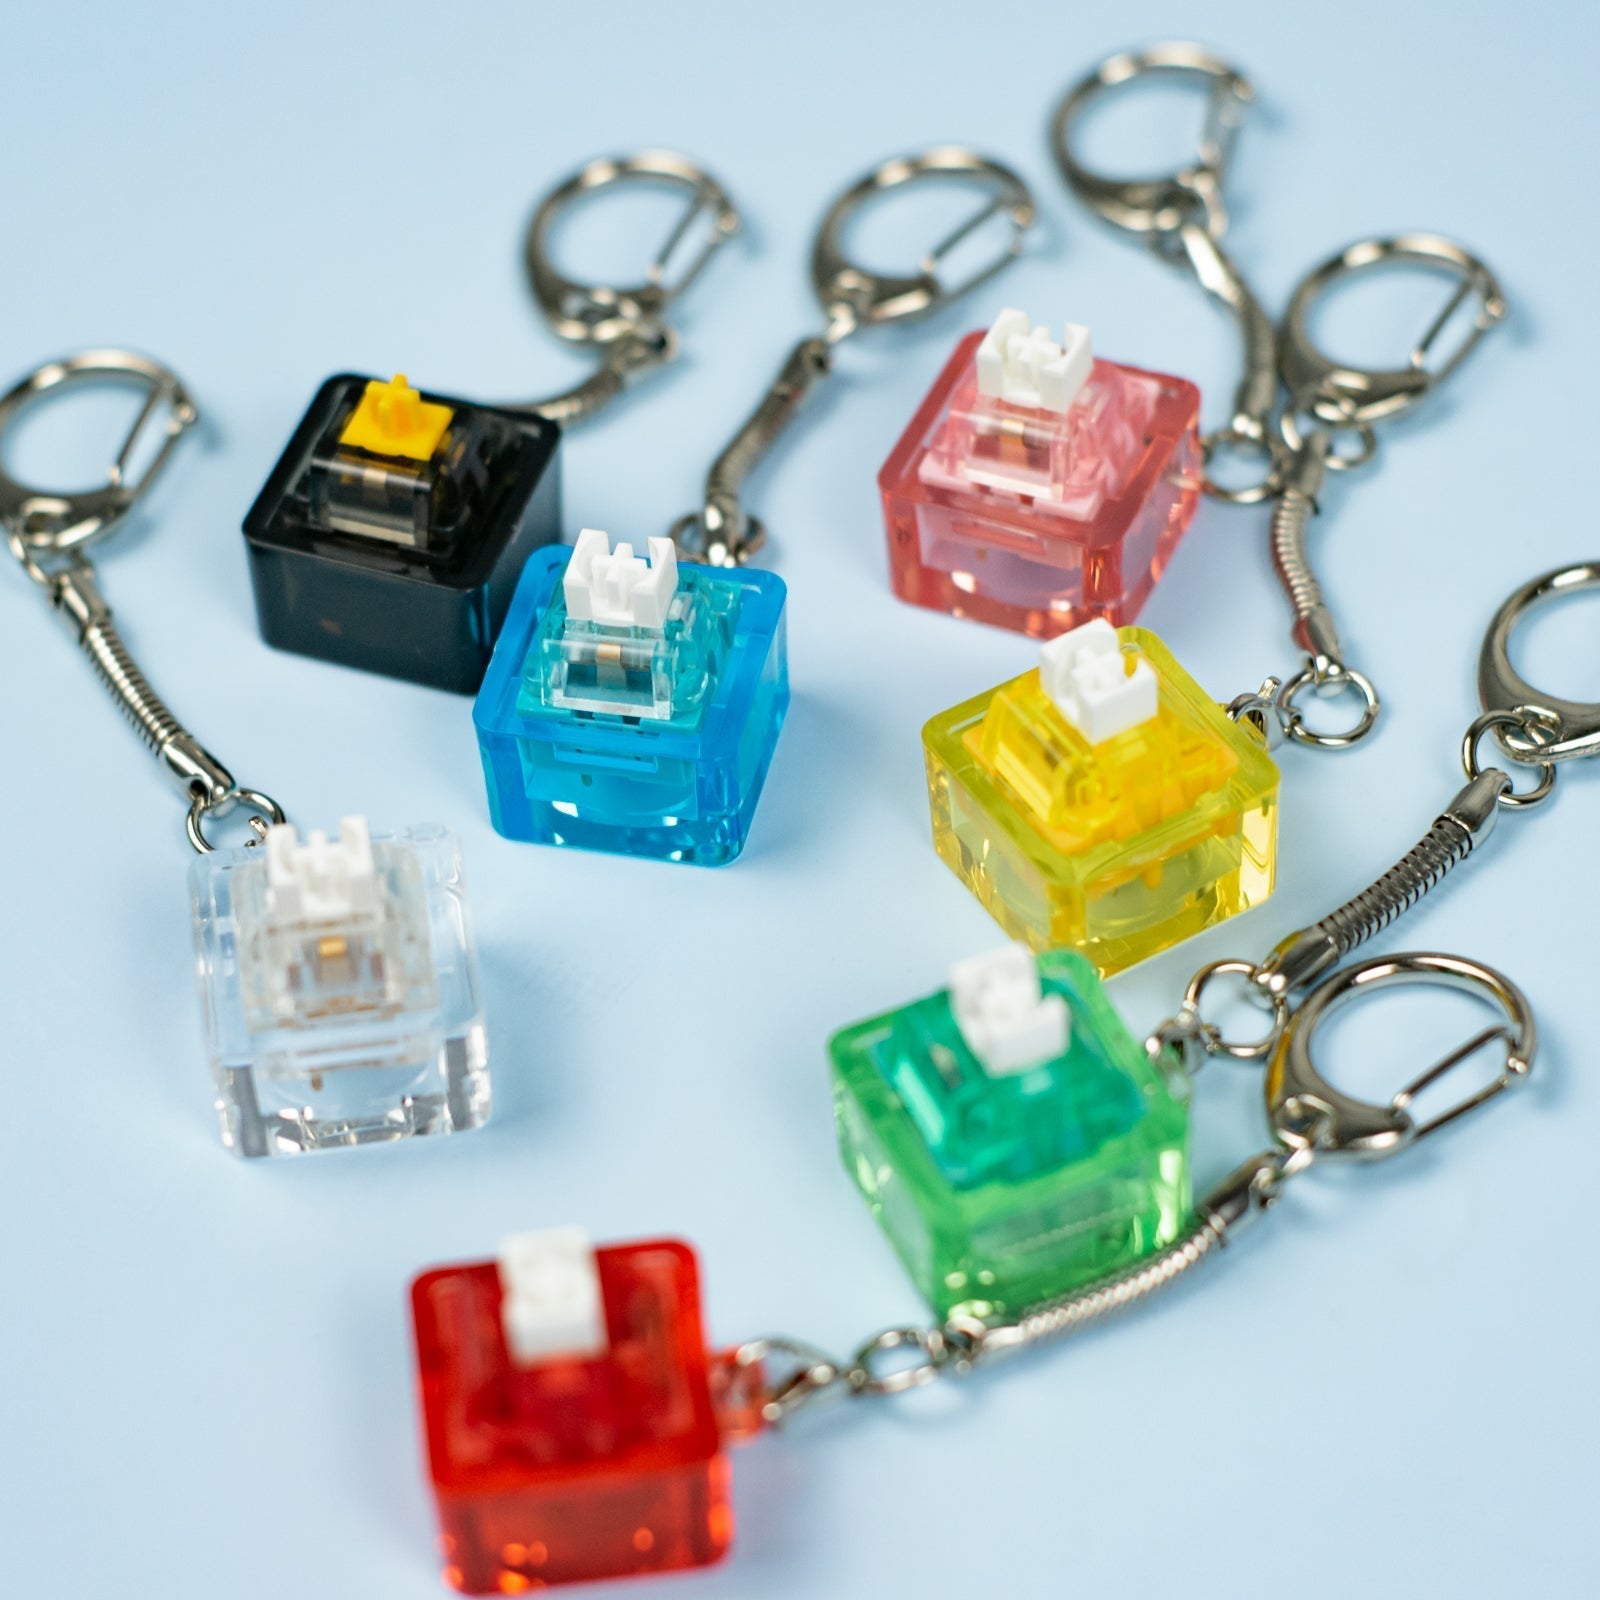
A switch tester is a small board, block, or keychain that holds one or more mechanical switches so you can press them by hand. Most have no PCB logic and nothing registers on your computer. You are feeling the switch mechanism directly, isolated from a keyboard.
They generally come in a few shapes:
- Multi-switch tester boards holding four to twenty or more switches in a grid, usually a curated selection from one manufacturer
- Single-switch keychain testers that hold one switch and travel in your pocket or bag
- Loose sample switches bought in very small counts and dropped into a spare hot-swap board
The Glacier Keycap/Switch Keychain Tester is an example of the single-switch style. It accepts a wide range of mechanical switches and keycaps, so it doubles as a portable tester and a fidget toy, and it works with tactile, linear, and clicky switches.
What a Switch Tester Can Tell You
A tester is reliable for everything that lives inside the switch housing — the properties that travel with the switch into any keyboard you install it in.
- Switch type — whether a switch is linear, tactile, or clicky, and how pronounced that character is
- Tactile bump position and strength — whether the bump sits near the top of the travel or further down, and whether it feels sharp or rounded
- Spring weight and resistance — how heavy the switch feels through the press and on the return
- Smoothness — whether a linear switch glides or feels scratchy against the housing walls
- Stem wobble — how much play there is when you rock a keycap side to side
These are the properties most people care about when they ask which keyboard switch is best for typing or gaming. If your goal is to work out whether you prefer a tactile bump or a clean linear press, a tester answers that quickly and cheaply.
What a Switch Tester Cannot Tell You
This is where testers earn their skeptics. The single biggest limitation is sound.
A switch on a bare tester has no case, no plate, no foam, and often no keycap. In a finished keyboard, all of those sit between the switch and your ears, and each changes the result substantially:
- Case material — rigid aluminum cases tend to sound brighter and more resonant, plastic cases absorb more vibration
- Plate material and stiffness — a stiff plate transmits a sharper, more metallic character; a flexible plate softens it
- Foam and dampening layers — case, plate, and PCB foam absorb the hollow resonance that makes an empty case ring
- Keycap material and thickness — thin ABS caps generally read higher-pitched and clackier, thicker PBT caps deeper and duller
- Mounting style — gasket, top mount, and tray mount couple the plate to the case differently, changing sound and flex
The practical takeaway: judge feel on a tester, not sound. A switch that sounds hollow and plasticky on a bare block can sound completely different mounted in a foamed aluminum case with thick keycaps. Writing off a switch because of how it sounded on a tester is the most common mistake people make.
A tester also cannot tell you how a switch feels after hours of real typing, and it cannot show you how a switch behaves on large stabilized keys, where the stabilizers dominate the feel far more than the switch does.
How to Test Mechanical Keyboard Switches Properly
Most people test switches badly. They mash each one as hard as they can, decide the heaviest feels "best," and buy a full set they regret two weeks later. A better routine looks like this:
- Type, do not poke. Press each switch repeatedly at your real typing rhythm for fifteen to twenty seconds, using normal force rather than maximum force.
- Compare in pairs. Running down a row of ten switches recalibrates your hand and everything blurs together. Two at a time, back and forth, gives far clearer answers.
- Put a keycap on it. Bare stems feel nothing like a real keypress. Fit the keycap profile you actually use, since profile height changes the angle your finger meets the switch.
- Test when you are tired. A heavy switch that feels satisfying in the morning can feel exhausting late in a session.
- Ignore the sound entirely. Note it if you like, but do not let it decide anything.
- Shortlist three, then commit. Narrowing to three finalists and buying a small pack of the leader beats endless comparison.
Understanding Actuation Force and Spring Weight While You Test
Two numbers get quoted constantly in switch specs, and they measure different things. Actuation force is the force required to register the keypress. Bottom-out force is the force required to push the key all the way down until it stops. Both are driven mainly by the switch spring, and the gap between them can be large, especially with progressive or multi-stage springs.
As a rough orientation, light switches generally sit around 35g to 50g of actuation force, medium switches around 45g to 70g, and heavy switches above roughly 70g. Manufacturers measure and label these differently, so treat published numbers as a guide rather than a guarantee.
Which number matters depends on how you type. If you press lightly and release at the actuation point, actuation force is your reference. If you bottom out every key — and most gamers and fast typists do — bottom-out force describes your experience far more accurately. A tester lets you feel both directly, which is exactly what a spec sheet handles badly.
Switch Tester vs Buying a Small Sample Pack
A tester is not the only way to sample. Buying a small quantity of a switch you are already leaning toward has a real advantage: you can install those switches in an actual hot-swappable keyboard and live with them for a few days.
That is the closest thing to a true preview, because you are testing the switch inside a real case, on a real plate, under real keycaps, during real work. Many switches in our key switches collection are sold in smaller counts alongside full-board quantities, which makes this practical without committing to a complete set.
One caution: hot-swap sockets are not designed for unlimited insertions. Every removal and reinstallation wears the socket contacts, so treat swapping as something occasional rather than daily.
The sensible combination for most people is a tester or keychain to narrow the broad category — linear, tactile, clicky, or silent — followed by a small pack of one or two finalists to confirm the choice in a real build.
Testing Linear, Tactile, Clicky, and Silent Switches
Each switch family gives you something different to pay attention to on a tester.
- Linear switches — judge smoothness and consistency. Any scratchiness on a tester will still be there in the board. Browse linear switches.
- Tactile switches — judge where the bump sits and how it resolves. A bump at the top feels very different from one halfway down. Browse tactile switches.
- Clicky switches — feel the click mechanism, not the volume. Click bar and click jacket designs feel distinct even at the same loudness. Browse clicky switches.
- Silent switches — judge the dampening material, which some people find mushy at the bottom of the stroke. This is one case where a tester is informative about noise, since the dampening lives inside the housing. Browse silent switches.
Why Magnetic and Hall Effect Switches Need a Different Test
Standard switch testers do not meaningfully evaluate magnetic switches. Hall effect and magnetic switches report a continuous position rather than a simple on or off contact, and that behaviour only exists when the switch sits over a compatible sensor on a magnetic keyboard PCB.
A passive tester still shows you spring weight and travel smoothness, but the features people buy magnetic switches for — adjustable actuation depth, rapid trigger, and analog input — cannot be assessed without the board. If you are shopping magnetic switches, test them in a magnetic keyboard rather than on a block.
Tools That Make Switch Testing Easier
Swapping switches in and out repeatedly is where damage happens, and a decent puller matters more than people expect. Improvised tools are the usual cause of bent switch pins and scratched housings.
A combination tool such as the Glacier Keycap/Switch Puller Tool handles both jobs: the keycap end lifts caps evenly off the stem, and the switch end grips the housing so it comes out straight. It is designed for MX-style switch stems. The Glacier Keycap/Key Switch Tool is a similar 2-in-1 removal tool built for hot-swappable mechanical keyboards.
Two habits prevent almost all pin damage. First, pull the switch straight up — angling the tool is what bends pins sideways. Second, check the pins before every reinstallation and straighten any that are off, because forcing a bent pin into a socket damages both. More options are in our keyboard tools collection.
How to Store and Organize Sample Switches
Anyone who samples switches for more than a few months ends up with a drawer of loose singles they can no longer identify. Sorting them into a labelled case as you go solves a problem that is annoying to fix later.
A dedicated case such as the Kailh Switches Storage keeps samples separated and visible, and the Kailh Light Base Holder turns that display into a desk piece. Both are in our switches storage collection.
Frequently Asked Questions About Switch Testers
Are switch testers worth buying for beginners?
For most beginners, yes. Working out whether you prefer linear, tactile, or clicky switches is the single biggest decision in the process, and a tester answers it in minutes for a fraction of the cost of a full switch set. Just treat it as a tool for judging feel, not sound.
How many switches should a switch tester have?
Six to twelve is plenty for a first tester, provided the selection is varied rather than twelve near-identical linears. A single-switch keychain works well as a supplement once you know roughly what you like and want to compare specific candidates.
Why does a switch sound different on a tester than in a keyboard?
Because a bare tester has no case, plate, foam, or full keycap set, and those components do most of the work in shaping keyboard sound. The case acts as a resonance chamber, foam absorbs vibration, and keycap material and thickness change the pitch. The same switch can sound thin on a tester and deep in a finished board.
Do switch testers work for magnetic or Hall effect switches?
Only partially. A passive tester lets you feel the spring weight and travel, but adjustable actuation, rapid trigger, and analog input all require a magnetic keyboard PCB with the matching sensors. Those features cannot be assessed on a standalone tester block.
Choosing Your Switches With Confidence
A switch tester is a useful tool as long as you understand its scope. It is close to definitive on feel — switch type, bump character, spring weight, smoothness, and wobble — and close to useless on sound, because sound is a property of the whole keyboard rather than the switch alone.
Use a tester to narrow the field, then confirm your shortlist with a small pack installed in a real hot-swappable board. That two-stage approach costs very little, avoids the classic mistake of buying a full set on a hunch, and gets you to a keyboard you actually enjoy typing on.


