Mechanical keyboard enthusiasts often focus on switches, keycaps, and layouts, but one crucial component that dramatically affects typing feel and sound is the stabilizer. If you’ve ever experienced rattly spacebars, uneven large keys, or an unpleasant metallic noise, stabilizers are usually the culprit. In this guide, we’ll break down what keyboard stabilizers are, the different types available, and how to tune stabilizers for better sound and a smoother typing experience.
What Are Keyboard Stabilizers?
Keyboard stabilizers are mechanical components used on larger keys to keep them level and stable when pressed. Keys like the spacebar, Enter, Shift, Backspace, and Caps Lock require stabilizers because they are wider than standard keys and would otherwise wobble or tilt when pressed off-center.
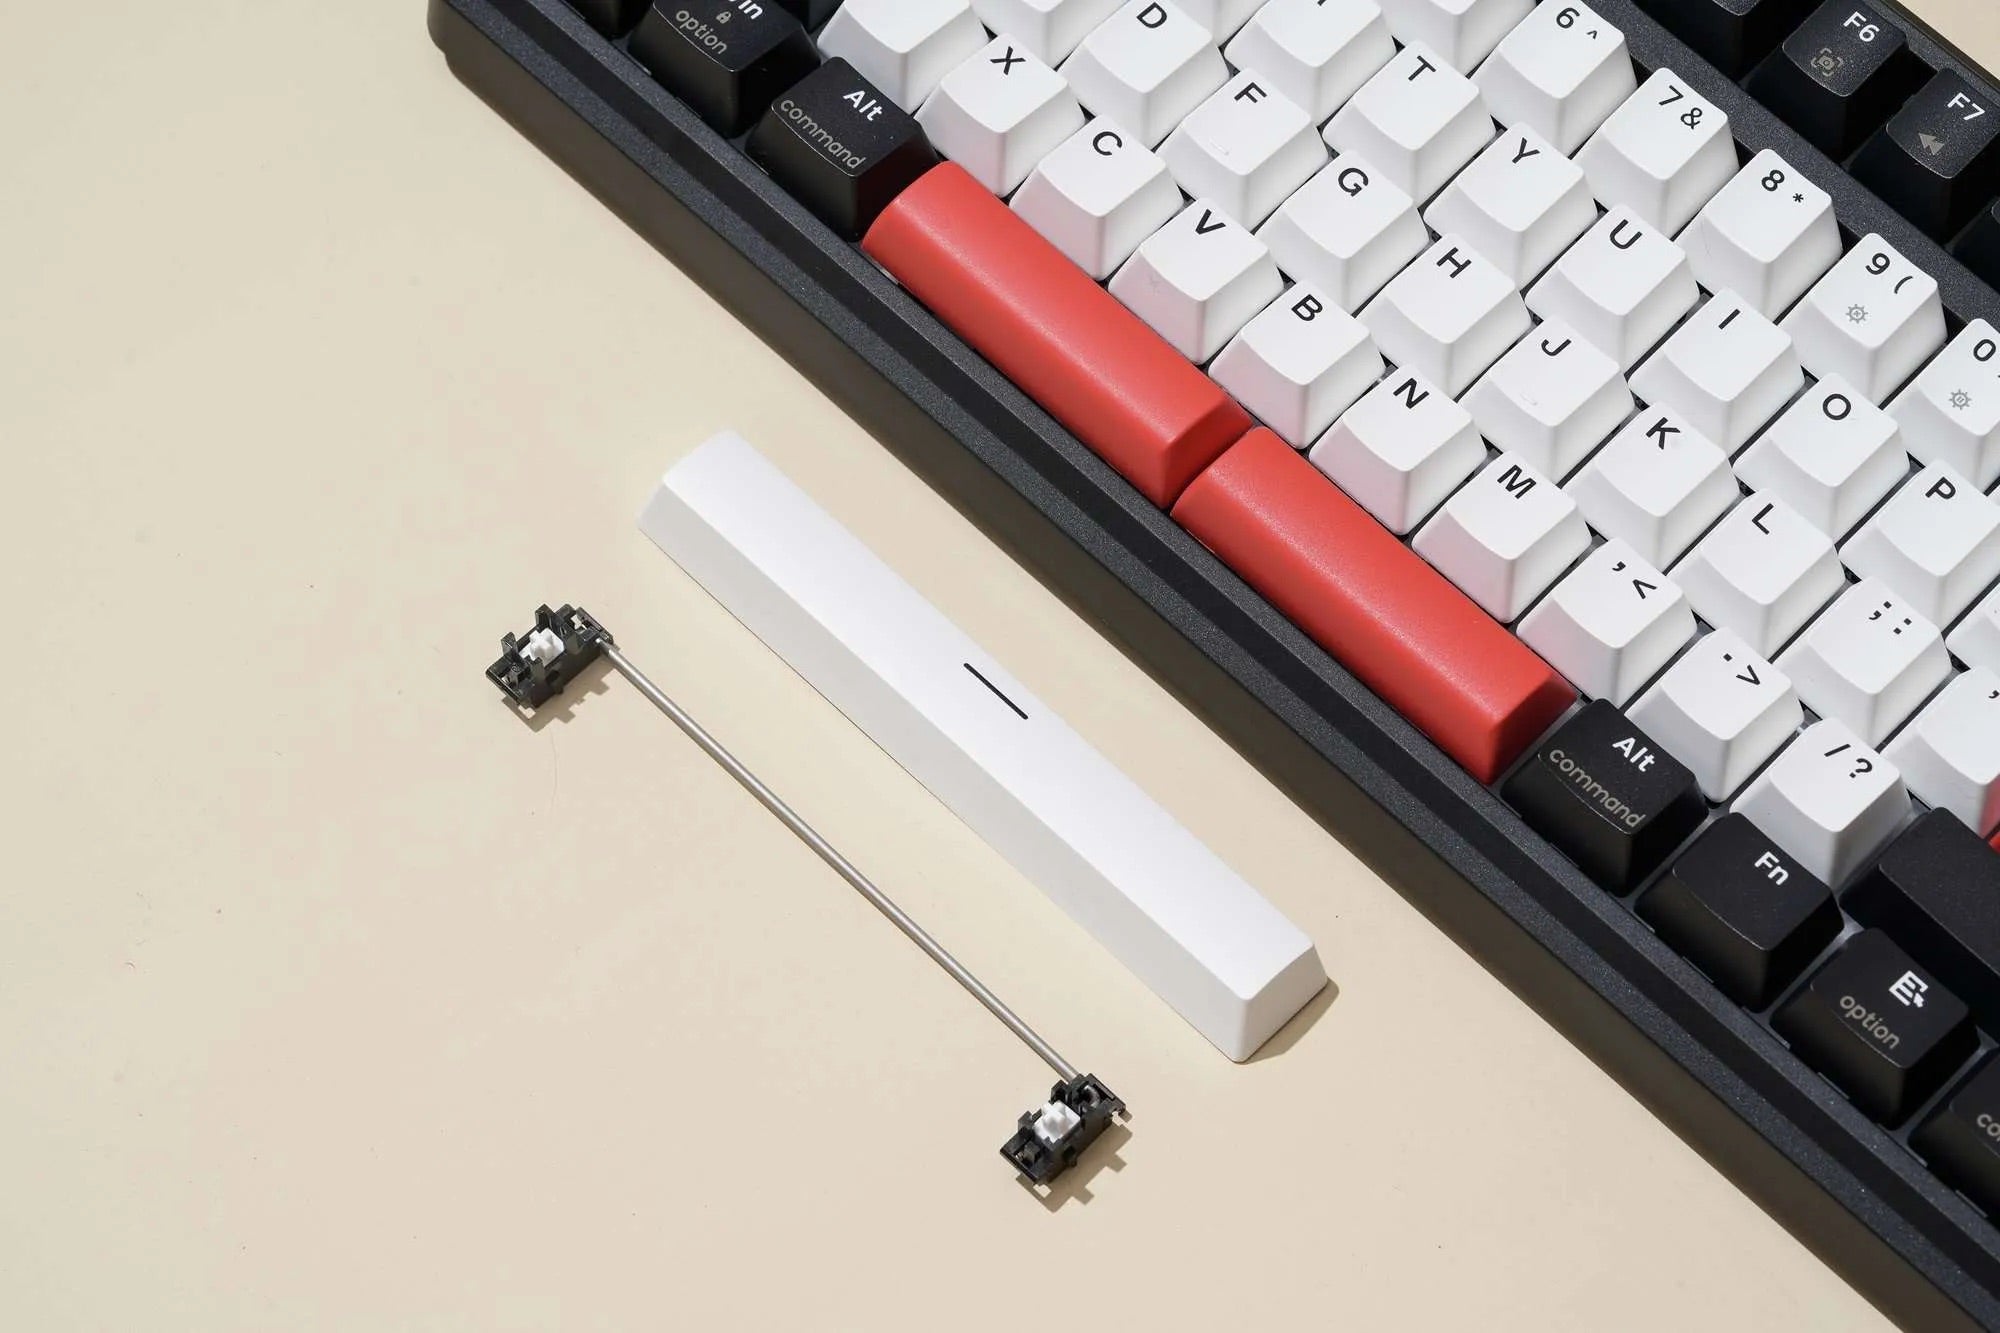
A stabilizer typically consists of three main parts: the housing, the stem, and a metal wire. Together, these parts help distribute force evenly across the keycap, improving consistency, reducing wobble, and preventing uneven keystrokes.
Why Stabilizers Matter for Keyboard Sound
Stabilizers play a huge role in keyboard acoustics. Poorly tuned stabilizers can cause common issues such as rattle, ticking, wire ping, or mushy key feel. Properly tuned stabilizers, on the other hand, produce a deep, clean sound often described as “thocky” or “muted,” which many mechanical keyboard users aim for.
When stabilizers are well-tuned, large keys sound closer to regular keys, creating a more consistent and premium typing sound profile across the entire keyboard.
Types of Keyboard Stabilizers
Plate-Mounted Stabilizers
Plate-mounted stabilizers clip directly into the keyboard plate. They are common on prebuilt mechanical keyboards and budget keyboard kits. While easy to install and remove, plate-mounted stabilizers are generally less stable and more prone to rattle compared to PCB-mounted options.
PCB-Mounted Stabilizers
PCB-mounted stabilizers attach directly to the PCB, offering better stability and sound consistency. These are preferred in custom mechanical keyboards and enthusiast-level builds.
Screw-In Stabilizers
Screw-in stabilizers are the most popular PCB-mounted stabilizers. They screw into the PCB, minimizing movement and reducing rattle. Brands like Durock, TX, and Cherry screw-in stabilizers are commonly recommended for custom builds.
Clip-In Stabilizers
Clip-in stabilizers snap into the PCB instead of being screwed down. While easier to install, they can shift slightly over time, leading to more noise compared to screw-in stabilizers.
Common Stabilizer Problems
- Rattle: A loose wire vibrating inside the stabilizer housing
- Ticking: A sharp noise caused by uneven wire contact
- Mushy feel: Too much lubrication or poor alignment
- Wire pop-out: Improper installation or low-quality stabilizers
How to Tune Stabilizers for Better Sound
Step 1: Disassemble and Inspect
Remove the stabilizers from your keyboard and separate the housing, stem, and wire. Check for bent wires, rough plastic edges, or manufacturing defects that could cause noise.
Step 2: Clip the Stabilizer Feet (If Needed)
Many stabilizers come with small plastic “feet” on the stems. Clipping these feet removes excess plastic that can cause a mushy bottom-out and inconsistent sound. This step is optional but commonly done for Cherry-style stabilizers.
Step 3: Lubricate the Stabilizers
Lubing stabilizers is one of the most important steps for improving keyboard sound.
- Use thick grease (such as dielectric grease or Krytox 205g0) on the stabilizer wire where it contacts the housing
- Apply a thin layer of lubricant on the stabilizer stem sliders
- Avoid over-lubing, which can cause sluggish key return
Proper lubrication reduces friction, eliminates rattle, and creates a smoother, deeper sound.
Step 4: Balance and Tune the Wire
An uneven stabilizer wire is a common cause of ticking. Place the wire on a flat surface to check if both sides sit evenly. If needed, gently bend the wire until it is balanced. This process, known as wire tuning, significantly reduces ticking noises.
Step 5: Apply the Holee Mod or Band-Aid Mod (Optional)
Advanced users may apply additional mods for sound optimization:
- Holee Mod: Adds fabric or tape inside the stabilizer housing to dampen wire noise
- Band-Aid Mod: Places a soft layer between the stabilizer and PCB to soften bottom-out sound
These mods can further reduce harsh sounds and improve overall acoustics, especially on spacebars.
Step 6: Reinstall and Test
Reinstall the stabilizers and test each large key before fully assembling the keyboard. Listen for rattle, ticking, or uneven sound. Make small adjustments as needed until the sound is consistent.
Best Stabilizers for Custom Mechanical Keyboards
Some stabilizers are known for better quality and easier tuning. Popular options include Durock V2 screw-in stabilizers, TX stabilizers, Cherry stabilizers, and Owlstab. High-quality stabilizers reduce tuning time and provide better long-term performance.
Final Thoughts
Stabilizers are a critical but often overlooked part of a mechanical keyboard. Learning what stabilizers are and how to tune them can dramatically improve typing sound, reduce unwanted noise, and elevate the overall feel of your keyboard. Whether you’re building a custom keyboard or upgrading a prebuilt one, properly tuned stabilizers are essential for achieving a smooth, premium typing experience.
If you’re chasing a quieter keyboard, a deeper thocky sound, or simply a more satisfying typing feel, stabilizer tuning is one of the most effective upgrades you can make.