

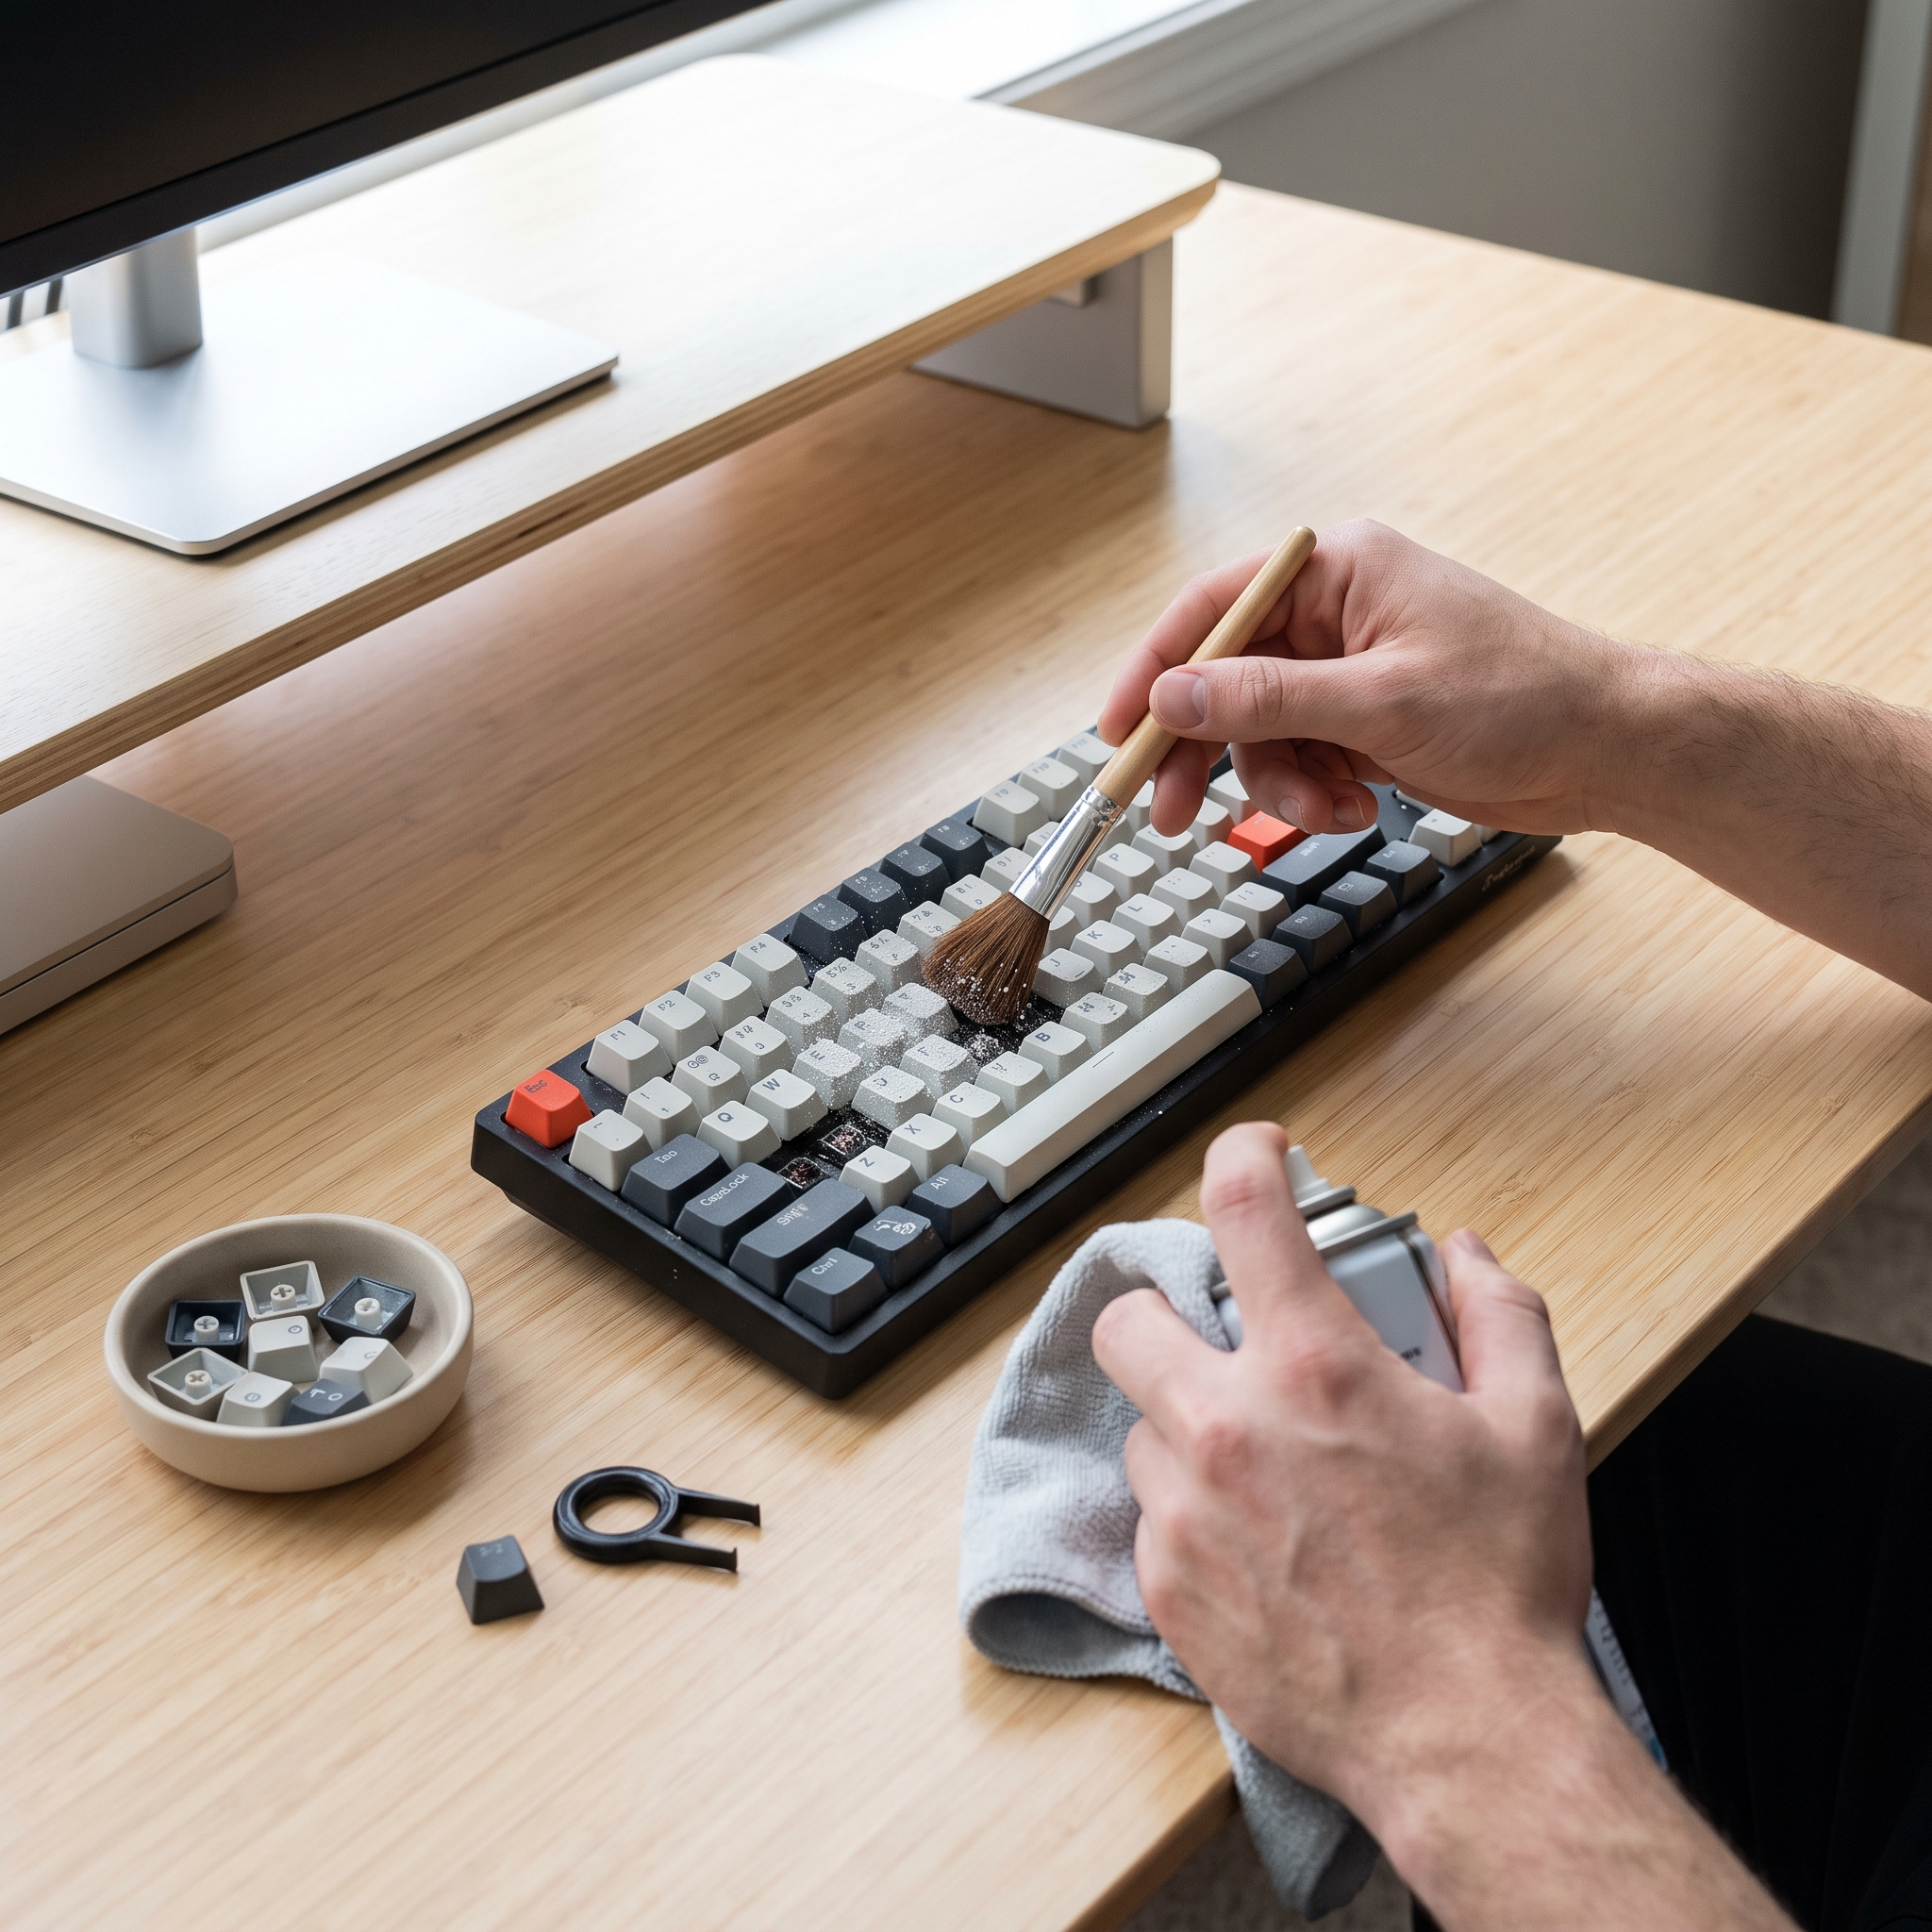
How to Clean a Mechanical Keyboard Without Damaging It
Learning how to clean a mechanical keyboard properly is one of the cheapest upgrades you can give your setup. Dust, skin oils, crumbs, and pet hair work their way past the keycaps and settle around the switch housings, and the result is a board that looks dull, sounds duller, and eventually develops sticky or scratchy keys. The good news is that a full mechanical keyboard cleaning takes about half an hour of actual work, and most of the tools cost less than a set of keycaps.
This guide covers the safe way to clean a mechanical keyboard step by step: the quick weekly routine, the full deep clean, how to clean keycaps without ruining the legends, what to do about switches and the plate, and the mistakes that turn a cleaning session into a repair job.
What You Need to Clean a Mechanical Keyboard
You do not need a dedicated keyboard cleaning kit, but a few basics make the job far easier and much safer:
- A keycap puller — the gentlest designs hook under the keycap and lift from two opposite corners rather than squeezing the sides, which is what scuffs or cracks thin ABS caps.
- A switch puller — only needed if you plan to remove switches on a hot-swap board.
- A soft brush — a clean paintbrush or soft-bristled toothbrush for sweeping the plate.
- Compressed air or a blower — for blasting dust out from between the switches.
- Microfiber cloths — lint-free, unlike paper towels, which shed fibers into switch housings.
- Cotton swabs, isopropyl alcohol, and mild dish soap — for the case, the plate, and the keycaps.
A combination tool handles both jobs in one piece. The Glacier Keycap/Key Switch Tool is a 2-in-1 puller for hot-swappable boards, and the Glacier Keycap/Switch Puller Tool covers the same two jobs. Both sit in the keyboard tools collection with the rest of our keyboard accessories.
The 5-Minute Weekly Keyboard Cleaning Routine
Most people never need a full teardown if they maintain the board regularly. A quick keyboard clean once a week takes about five minutes:
- Unplug the keyboard, or power off a wireless board.
- Turn it upside down over a bin and give it a few firm taps to shake loose crumbs out.
- Blow between the key rows with compressed air, working at an angle across the rows rather than straight down, so debris travels out instead of deeper into the switches.
- Sweep the remaining dust off the keycap tops and the gaps with a soft brush.
- Wipe the keycap tops and the case with a barely damp microfiber cloth, then dry it.
One note on compressed air: keep the can upright while you spray. Tilting or inverting it pushes liquid propellant out of the nozzle, and that is not something you want landing on a PCB.
How to Deep Clean a Mechanical Keyboard Step by Step
A deep clean means keycaps off and a proper scrub of everything underneath. Set aside about 30 minutes of hands-on time, plus drying time before reassembly.
- Disconnect everything. Unplug the cable and switch off a wireless board.
- Photograph your layout. One phone photo from above saves a lot of guesswork at reassembly, especially on compact 60% and 65% boards where modifier legends are easy to mix up.
- Pull the keycaps. Hook the puller under two opposite corners of the cap and lift straight up with gentle, even pressure. Rocking the cap side to side puts stress on the switch stem. Our guide on how to use a keycap puller and switch puller without damage walks through the technique in more detail.
- Clear the loose debris. With the caps off, tip the board over again, then blow it out with compressed air and brush the plate clean.
- Clean the plate and case. Dampen a cotton swab or microfiber cloth with isopropyl alcohol and work around the switch housings, plate, and case edges. Apply alcohol to the cloth, never onto the board.
- Wash the keycaps while the board dries, using the method in the next section.
- Let everything dry completely, then reinstall the keycaps using your photo, pressing each one straight down until it seats.
How to Clean Mechanical Keyboard Keycaps
Keycaps hold most of the grime. The safe method is simple: lukewarm water and a few drops of mild dish soap, a soak of roughly 30 to 60 minutes, then a gentle scrub with a soft brush and a rinse in clean water. The details matter more than the method:
- Keep the water lukewarm, not hot. Heat is what warps keycaps and fades legends. Skip the dishwasher — its temperature and detergent are far more aggressive than any keycap set is designed for.
- Be cautious with alcohol on legends. It is fine on the case and plate, but it can lift printed legends. Doubleshot and dye-sublimated legends are far more resilient because the marking is part of the plastic rather than a coating on top.
- Treat ABS gently. ABS caps shine and discolor more readily than PBT, so stick to soap, water, and a soft cloth. Not sure which you have? Our guide on how to tell if keycaps are PBT or ABS covers the tells.
- Dry them fully. Shake the water out of the stems and air-dry on a towel for several hours, or overnight if you can.
Our post on cleaning tips for PBT and ABS keycaps goes deeper on material-specific care. If a set is worn out rather than dirty, the keycaps collection has replacements in several profiles.
Cleaning Switches, Plates, and the PCB
For most boards, you do not need to remove the switches to clean a keyboard. Blowing the plate out and brushing it down handles the vast majority of dust. Pull switches only for a specific reason — a key that feels gritty, or debris that has fallen inside a housing.
If you do pull switches on a hot-swappable board, grip the top and bottom clips, keep the puller square to the housing, and lift straight up. Angled pulls are what bend switch pins. Straighten a bent pin carefully with tweezers before reseating, and never force a switch into a socket — hot-swap sockets are easier to damage than switches are.
A few rules for the PCB itself:
- Never run water over an assembled keyboard or a PCB with a battery attached.
- High-concentration isopropyl alcohol contains less water and evaporates faster, which is why it is the usual choice around electronics. Use it sparingly, on a swab.
- Do not use paper towels around switch housings — the fibers get left behind.
- Keep household vacuums away from an exposed PCB and use a brush and blower instead.
If a key still misbehaves after cleaning, the problem may not be dirt. Our troubleshooting guide and the post on switch bouncing cover the usual electrical culprits, and a fresh switch from the key switches collection is a quick fix on a hot-swap board.
Cleaning Magnetic and Hall Effect Keyboards
The cleaning routine for a magnetic keyboard is essentially the same, with one difference worth knowing. A Hall effect switch has no metal leaf contacts inside it; the board reads a magnet in the stem with a sensor on the PCB, so there are no contacts to corrode or oxidize.
What still matters is friction. Dust and hair inside the housing affect how smoothly the stem travels, and on a board with rapid trigger and adjustable actuation, travel consistency is the whole point. Blow the plate out regularly, keep liquids away from the sensor area on the PCB, and if a magnetic switch starts feeling rough, swap it and recalibrate in software rather than trying to wash it.
What to Do If You Spill Liquid on Your Keyboard
A spill is a race against corrosion, and the first minute matters more than everything after it.
- Disconnect power immediately. Unplug the cable, power off a wireless board, and disconnect the battery if you can reach it. Do not test whether it still works.
- Get the liquid out. Flip the board over and let gravity do the work, then pull the keycaps so the plate and switches can breathe.
- Deal with sugar. Water may dry out on its own, but soda, sweetened coffee, and juice leave a sticky residue that keeps causing problems. Those need cleaning off with isopropyl alcohol, not just drying.
- Wait longer than feels necessary. Give the board at least 48 to 72 hours to dry fully before powering it on. Powering up a damp PCB is what turns a survivable spill into a dead board.
Hot-swap boards have a real advantage here: if a handful of switches take the worst of it, you replace those switches rather than the whole keyboard.
Mistakes That Damage Keyboards During Cleaning
- Rocking keycaps off instead of lifting straight up, which stresses switch stems.
- Hot water or the dishwasher, which warps caps and fades legends.
- Spraying liquid onto the board instead of onto a cloth.
- Reassembling too early, before the caps and plate are completely dry.
- Inverting a compressed air can, which sprays liquid propellant onto the PCB.
- Pulling switches at an angle, which bends pins and can tear a hot-swap socket.
How Often Should You Clean a Mechanical Keyboard?
A workable schedule for most people:
- Weekly: a quick shake, blow out, and wipe down — five minutes.
- Every three to six months: a full deep clean with the keycaps off.
- Immediately: after any spill, or as soon as a key starts feeling gritty or sticky.
If you eat at your desk, own pets, or game for long sessions, lean toward the shorter end of that range. Keeping spare switches in a switch storage case rather than a loose bag also keeps dust out of the ones you will eventually install.
Frequently Asked Questions About Cleaning Mechanical Keyboards
Can you use isopropyl alcohol to clean a mechanical keyboard?
Yes, on the right parts. It is a good choice for the case, the plate, and around the switch housings, applied with a cloth or cotton swab rather than poured on. Be careful with it on keycap legends, especially printed ones, since it can lift the marking. For keycaps, mild dish soap and lukewarm water is the safer default.
Do I need to remove the switches to clean my keyboard?
Usually not. Removing keycaps, blowing out the debris, and brushing the plate handles almost everything. Pull a switch only when that specific key feels wrong or something has fallen inside the housing — and only on a hot-swappable board, since soldered switches require desoldering.
Can I wash my keycaps in the dishwasher?
Don't. The combination of high temperature and aggressive detergent can warp keycaps and fade legends, and small caps escape into the machine. A bowl of lukewarm water with a few drops of mild dish soap does the same job with none of the risk.
How long do keycaps take to dry?
Give them several hours at minimum, and overnight if you can manage it. Shake the water out of the stems first and lay them on a towel with the underside exposed. Reinstalling caps that are still damp inside is a common cause of odd key behavior after a cleaning.
What is the best tool for removing keycaps safely?
A dedicated keycap puller that hooks under the cap and lifts evenly from two opposite corners. That geometry avoids squeezing the sides of the keycap, which is how caps get scuffed or cracked. A 2-in-1 tool that pairs a keycap puller with a switch puller covers both jobs in one compact piece.
Final Thoughts on Mechanical Keyboard Maintenance
Cleaning a mechanical keyboard comes down to a few habits: unplug first, lift straight up, keep liquid on the cloth instead of the board, and let everything dry longer than you think it needs. Do the five-minute version weekly and the full version twice a year, and a good board will keep looking, sounding, and feeling the way it did the day you built it.


